Tuesday, July 17, 2012

Summer Sewing Projects

If you would like to see a tutorial for any of these projects, please comment and let me know.

XOXO
ashli brooke


DIY Piping

Piping is super easy to make yourself! 
It may be the easiest thing to do yourself.

All you need is...

scissors
lighter
a sewing machine
matching or contrasting thread
fabric cut in strips of 2" and as long as you need your piping
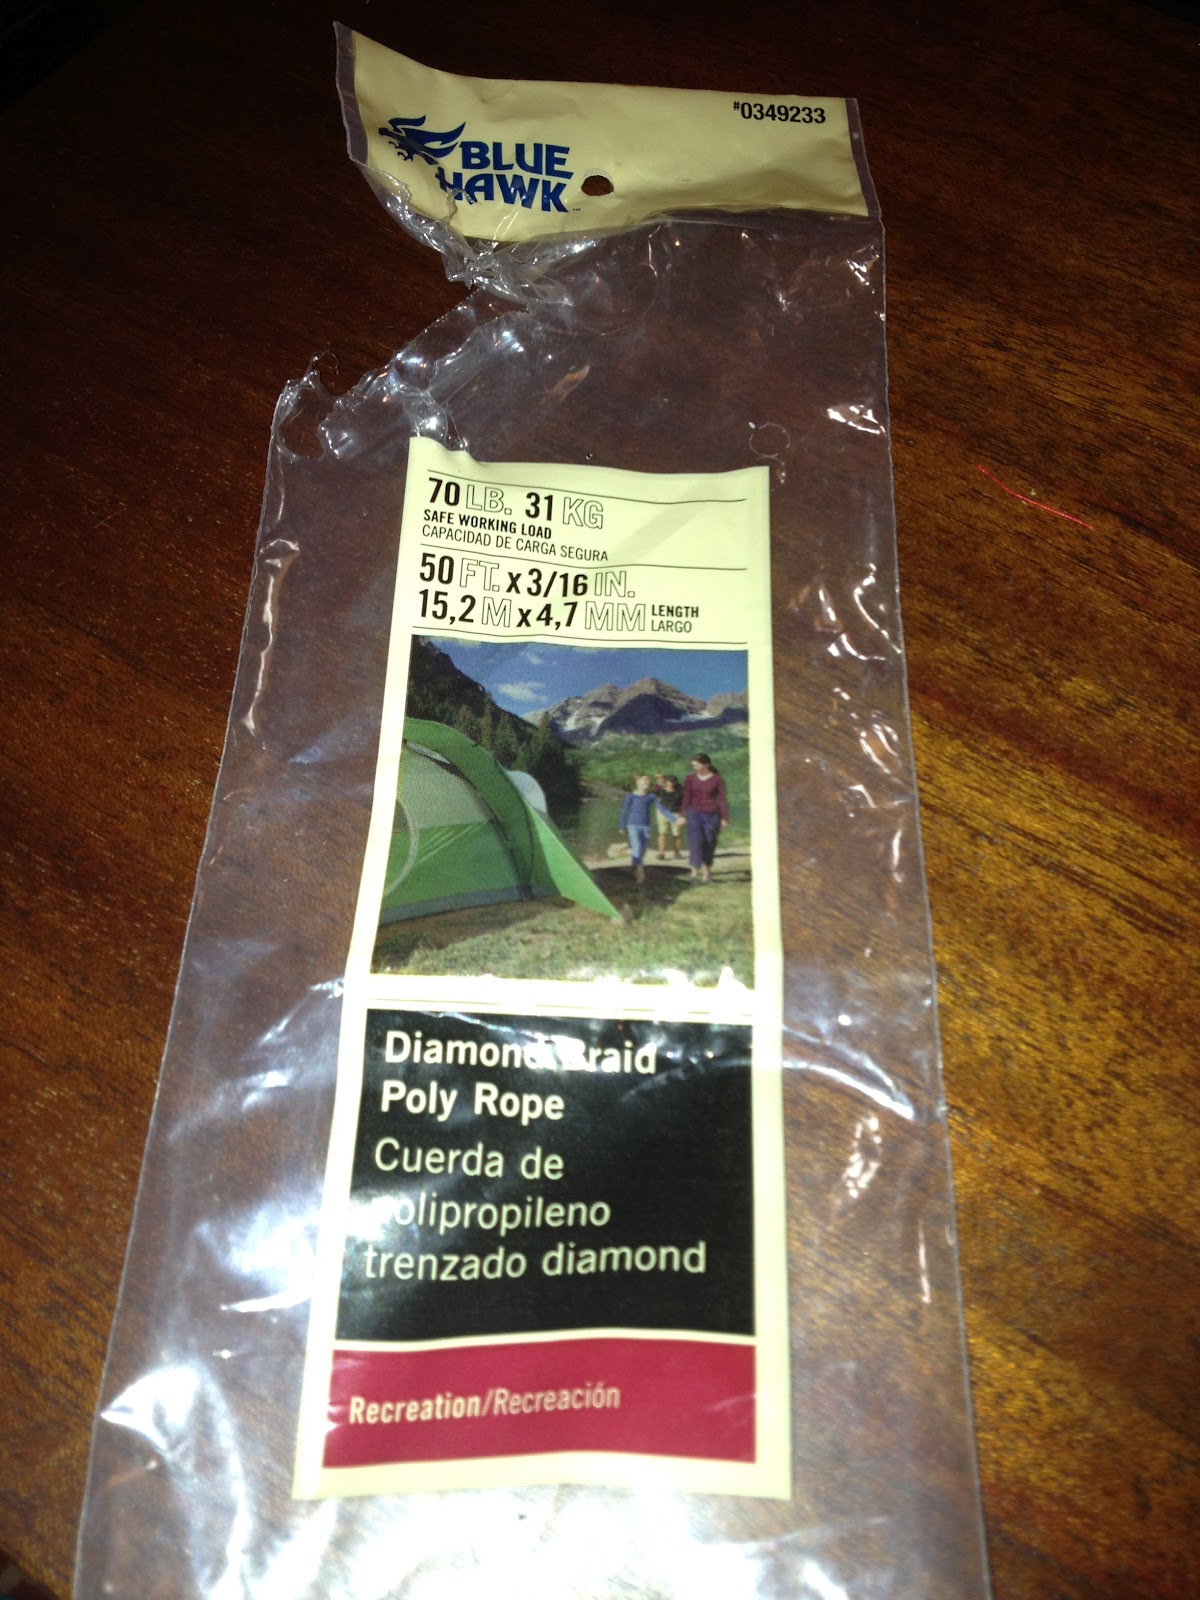
some form of rope or line (singe ends with the lighter to prevent fray)
a zipper foot or a similar one will be very helpful
(you want to be able to sew as close to the line or rope as possible)

It's easy as..
1.  Fold your strips over the line
2. Sew along the line, but not on the line
3. Admire your beautiful piping!


This is the rope that I used for my Reverse Applique Pillow


XOXO
ashli brooke

Freezer Paper Uses


Freezer paper is that amazing tool you never thought of for sewing, but you can find it in your grocery store with Ziploc bags and foil wrap. One side is paper and the other has a light coating of a plastic which melts like wax when you iron it.  

To adhere freezer paper to fabric, place the wax side down on the wrong side of the fabric, then use a medium iron to adhere it to the fabric.  

Buy good quality freezer paper - Reynolds.  It is way better and easier to use.  It is well worth it in the long run.

"Freezer paper is great for appliqué. There are several methods of freezer paper appliqué:
  • Draw your motif on the dull side, cut it out and iron it to the top of the appliqué piece. As you are appliquéing, you tuck the fabric under the appliqué piece, then peel off the freezer paper. You can usually reuse this piece several times.
  • You can also draw your motif on the dull side in reverse. Iron the freezer paper to the wrong side of the appliqué piece. You appliqué as above, but just before you get to the end, you remove the freezer paper with a pair of tweezers.
  • Or, you can iron the freezer paper to the wrong side of the appliqué piece then iron the fabric over the edges, giving you a crisp edge to appliqué. Remove the paper before doing so. 
Freezer paper can also be used for paper piecing. 
Freezer paper templates are great for hand sewing, too.  For example, you can use them to make Grandmothers Flower Garden blocks.  Print a sheet of hexagons on freezer paper, cut them apart and iron them to the wrong side of your appliqué piece.  Iron the edges over the freezer paper.  Now you will have a nice sharp edge for whip stitching.  For stability, leave the freezer paper in until you are done but be careful not to catch the thread in the paper.
Freezer paper can be run through your ink jet printer (not a laser printer!) if you would like to print several motifs at once. Set your printer to accept heavy paper, and feed the sheets one at a time.  To keep it from curling, you can cut it a day or two ahead of time and put it under something heavy to flatten it. If you are in a hurry, you can iron it flat (shiny side down) on a Teflon pressing sheet, or iron it to a piece of copy paper and put the combination through your printer. Ironing two pieces together may work, too.  It's best to pull them apart while they are warm.
Freezer paper can also help you to print on fabric. For example, if you would like to personalize your labels, you can iron your freezer paper to the wrong side of the fabric, cut it to just shy of 8 ½" x 11" so stray threads don’t get caught in the printer, and print your labels on the fabric. The freezer paper gives the fabric just enough body to go through the printer as if it were a piece of paper. 
To make attaching your labels even easier, use basting spray to adhere the fabric to the shiny side of the freezer paper. When you pull them apart, the fabric will remain just slightly sticky which will help keep it in place when you sew.  You can also use the muslin/freezer paper combination to make a fabric foundation for foundation piecing, too."
--quiltbug.com


Here is what Reynolds has to say about using Freezer paper in quilting: "To use Reynolds® Freezer Paper in quilting, trace quilting design onto dull side of freezer paper, cut it out and iron shiny side onto the fabric. Cut out the fabric around the design, allowing 1/4" seam allowance. Fold the fabric seam allowance under the freezer paper and stitch the applique onto the background fabric. Pull out the freezer paper through a small area left unstitched.
Save your money for quilt fabric! Here are great tips for using everyday items in original ways to save time and money in quilting.

Get crafting!

Laptop Sleeve Tutorial
Add caption

XOXO
ashli brooke

Reverse Applique Pillow Tutorial

This summer, my sewing goal is to make 6 pillows for my bed in my new apartment and maybe a couple for the couch. Yesterday, I completed pillow #1! Yay!!! I went to √Hancock Fabrics in Paducah, Kentucky at the beginning of the summer and bought the fabrics I wanted to use for my pillows.  

I have never made a pillow before and was a little nervous to start out which is probably why I have waited so long to make the first.  However, as I created this pillow I created a tutorial to share with you so that you can create your very own. Don't be intimidated, it is not hard.  :)


Materials Needed:

  • Main Fabric ( I used 1/2 yard of Michael Miller Mini Mike Dot n Square)
    • Front Fabric
      • Enough material to cover your pillow form and add 1" to your length and 1" to your width (mine was 12"x16" so I cut my front fabric to be 13"x17")
    • Back Fabric
      • You will need two pieces for the back, since we are making an envelope style pillow
        • TOP Back Fabric: 13"x 12"
        • BOTTOM Back Fabric: 13"x12"
  • Enough piping or fringe or whatever else you want around the edge of your pillow
  • Applique
  • Matching or contrasting thread and bobbin
  • Sewing machine (I love my Brother LB-6800PRW!)
  • Rotary Cutter
  • Scissors
  • Cutting mat
  • Exacto knife
  • Fray Check
  • Iron and Ironing board
  • Pins
**You may or may not actually use all of the supplies above based on your preferences**


Now, let's get down to business...

  1. Press your fabrics
  2. Cut your fabrics to match the dimensions listed above
  3. Iron the interfacing to the wrong side of the applique fabric following instructions that were with the interfacing
  4. Use the freezer paper to draw or trace your design for the applique 
  5. Use the exacto knife to cut out the design
  6. Iron the main piece of freezer paper to your Front Fabric with the waxy/shiny side against the right side of your fabric so that your fabric shows through the cutout how your want it on your pillow
  7. Use the exacto knife to cut out the piece of fabric showing through the cutout in the freezer paper (you could save this and use it on another project if you take your time and cut it perfectly)
  8. Fray check the edges of the cutout on the Front Fabric
  9. Pin the applique fabric to the back of the Front Fabric with the applique showing through the cutout Front Fabric as you want it to look once finished
  10. Sew around the edges of your cutout to hold the applique in place (I used 1/8")
  11. Trim the extra fabric with interfacing if you would like to (good for thin fabric so it doesn't show as much)
  12. Iron finished Front Fabric  
  13. Layout your 3 pieces of fabric
  14. On the 2 Back Fabric pieces, fold the 12" edge down 1" and iron, then sew along bottom of fold
  15. Layout the 3 pieces of fabric wrongside up
  16. Now, you want to overlap the 2 Back Fabric pieces so that once overlapped, combined the length is the same as the Front Fabric
  17. Pin the piping or whatever you chose to the right side of the Front Fabric
  18. Pin the Front Fabric and Back Fabric right sides together
  19. Sew around your pillowcase **make sure you sew on the side of the piping that is closest to the unfinished edge so that it will show once complete**
  20. Turn your pillowcase right side out 
  21. At this point, I made the bows and stitched the tail on the kite then sewed on the bows
  22. Insert pillow form
  23. ENJOY!!!!!!


I would LOVE to see your pillow if you make one! Please comment if you may use this tutorial.
Thanks!
XOXO
ashli brooke

Saturday, July 14, 2012

Furniture Makeover (Desk) Tutorial

Furniture makeovers are much easier than you think, but there will definitely be sweat, hopefully no blood and surely no tears.

Step 1: sand your piece.

I like to use an electric sander, because it takes much less effort than regular sand paper.
***make sure all hardware is off before sanding***


Step 2: prime your piece.

I like krylon spray paint primer. It is awesome! And not expensive :) make sure the primer dries completely before moving on**


Step 3: paint your piece.

I like Valspar and Krylon spray paints. They are of great quality and less than $4 per can. This desk and the chair took 4 cans or Valspar.


Step 4: protect your piece.

Once paint is COMPLETELY dry and looks even, coat it with a satin finish clear coat. Again, I like Krylon. This will protect you from color bleed and your piece from scratching the color.

See, easy! Let's see what you painted.